Before I left Sydney to go to Bali, I made a promise to me that I would try to learn textile craft of batik. At the time I believed that at least one of the batik techniques would origin in Bali, therefore, I thought this is the place to do it. I was wrong. Batik in Indonesia actually originated in Java, neighbouring Indonesian island. Truth is there is many batik techniques and you can buy representations of most of them here in Bali, but most of them are imported from other islands across Indonesia. What is typical for Bali, though are weaving techniques, but about that I will talk in my next post. At local markets as well as textile boutiques can be purchased batiks of all sorts of level of craftsmanship and difficulties. The cheapest once are stamped on factory made cotton just from one side and can cost anything between $2-10AUD (depends how well you can bargain), those more expensive are hand painted with wax on hand woven fabrics made of cotton or silk. Price can go anything from $70-800AUD depending on material, size and complicacy.
What I wanted to learn is, of course, was everything. Unfortunately, I wasn’t able to find anybody yet that would be willing to teach me more than what I can learn in very common commercial 4 hour batik workshops designed for tourists. I will keep looking!
So in the class I took in the mean time I have learned one of younger techniques of batik – colet. My teacher Kadek was really lovely, unfortunately his English was slightly limiting, therefore at times, answers to my questions were slightly confusing, yet I will try to describe the process of this basic technique as well as I can! When I learn more about other more complex and older techniques, I will share it with you.
Here it goes;
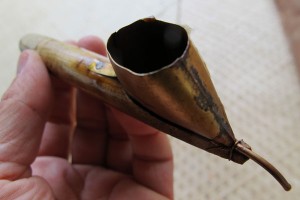
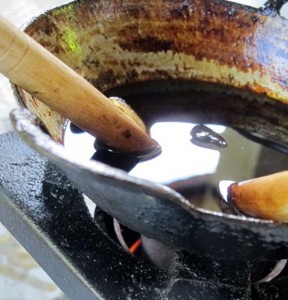
- Tools used for this technique are simple and only a few. You need a little camping gas stove, canting – tool used for application and distribution of the wax (it comes in three sizes for different levels of detail and thickness of line), wax which can be bee’s wax or resin from trees, dyes (originally people would use natural dyes subtracted from native plants and trees) and cotton “buts” of different sizes for dye application.
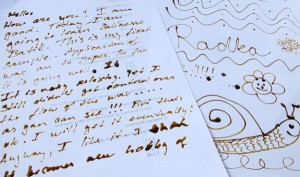
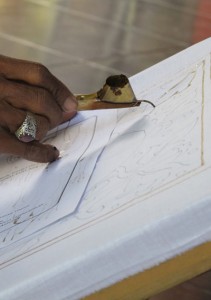
- As usual you start practicing on scrap paper to get used to handling canting. Of course canting looks super easy when done by a master, however, not so easy when you try for first time! I had particularly problems with dripping and even flow of wax! Let me just say, I made quite a mess out of my work. The way to use canting, as I was told, is to hold your canvas/paper on 45° angle and apply canting to it also on slight angle. You fill the canting only half way with the hot liquid wax and clean it on the edge of the dish containing the hot wax before you apply it to the canvas. Draw with canting with slight pressure. I found, the first contact of canting on the canvas the most difficult as the wax flow was always greater….I guess due to the temperature which of course decrease with time being out of the stove.
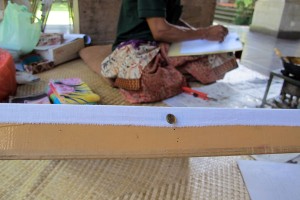
- Before you start application of wax to your canvas you sketch your design on to paper. Fabric needs to be stretched onto wooden frame by simply pining it into it with push pins (I think any picture frame will do).
- Followed by tracing the design on to the fabric lightly with pencil (what you do about the pencil lines on the fabric later on I don’t know as this question wasn’t answered to me……I guess, eraser could work. Or just draw freehand).
I was bit annoyed as before I had a chance to say no suddenly I had a frame and BALI drown onto my canvas in wax!
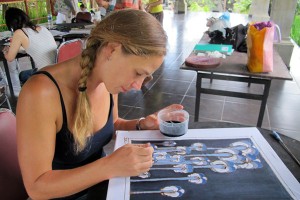
- Start chanting. Make sure that wax goes all the way through the fabric so you can see it on revers side of the fabric. If it doesn’t go through colour will blend. Once the design is contoured in wax on the fabric let it dry well.
- Application of the colour is done with cotton buts of different sizes depending on size of space to be coloured in. if you like some colour blending wet the fabric first. Intensity of the colour is regulated by diluting the dye with water. When all is coloured in let it well dry again.
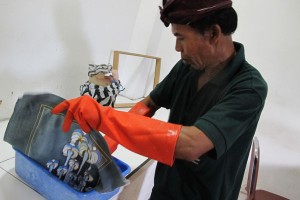
- Now, the dye needs to be fixed in. I am not sure what exact chemicals my instructor used (again bit of communication problem), but I understood it was costic, water glass and something else. I am definitely going to do this step differently. I remember my mum used to bath dyed cloths in white vinegar to fix the colour. I will rather give a go to this method. Nevertheless, after this process fabric needs to be dried again.
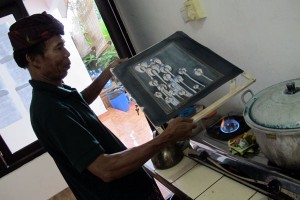
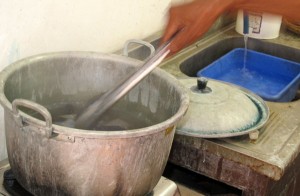
- Lastly, fabric is placed into boiling water to remove all the wax.
In conclusion, by the end of the workshop I was slightly demotivated as many of my questions weren’t answered. I would like to learn range of different batik techniques, more complex overlap of colours and making own natural dyes. I will keep searching for somebody to teach me!





{ 4 comments… read them below or add one }
Re: the fixing of the dyes. Vinegar will work on acid dyes and can assist with some natural dyes (on silk), but if they were using dyes that required caustic etc., then vinegar will be of no use. One is an acid and the other an alkali. Different dyes require different fixing agents. If you wish to learn about dyes and dyeing (with no language problems !!) – take a look at our website.
Hi Radka,
I was wondering if you know of anywhere in Sydney where I can do a Batik course?
Thank you
Luci
Thank you Lynne for your feedback, I will check out your website!
Hi Luci,
sorry, I unfortunately don’t know where in Sydney you can do a Batik course. Perhaps Lynne from above comment would know?