After long Christmas break I am back and so is my report on the “Mort” teapot!
Step 16 – inside of the tea infuser has been nicely emery so the next thing to do was to file the outside of the infuser and prepare it for next step.
Step 17 –the tea infuser will be submerged in to the teapot, therefore to help to contain the loose leaf tea the separate lid needs to be designed and made. I have chosen to use bayonet closing system as it is simple and not too fiddley for clumsy hands of some users.
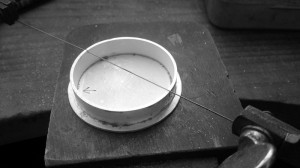
First, I cut two slots exactly opposite to each other
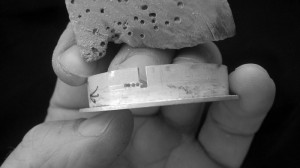
Then I have drilled row of holes to be able to go through with file to make the grove in clock wise direction.
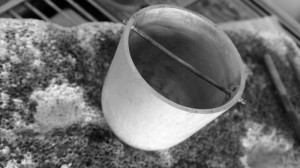
Lastly, I have soldered silver bar into the infuser which will be eventually cut to the size of bayonets.
Step 18 – the main body of the teapot needs to be annealed together with base as a preparation for the soldering. That way I am reassuring that both major parts relax in the same way when heated up and that no new gups will be formed. If this was done separately, each metal part could relax in different way and then not match perfectly anymore.
Step 19 – before the spout is soldered on and the main body is soldered to the base, hole for the spout and lid must be cut out. Otherwise it would be unnecessary more difficult to do so when it is all soldered together. Also, these two extra holes will help us to distribute heat more efficiently.
Step 20 – solder! I have soldered spout and socket for handle first. Then I bound everything thoroughly with binding wire and soldered base too. For all of the joints I have used only hard solder.
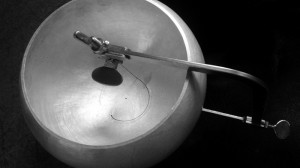
Step 21 – filing and emarying of the teapot. Filing stage is quiet relaxing, removing access solder and making sure that the surface of the teapot is nice and smooth. Emerying is little bit less pleasant as it is quite dusty and dirty.
Step 22 – will discuss in next post; making wooden handle, lid and stand


