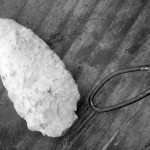
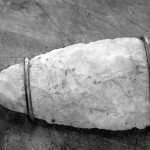
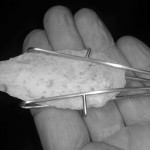
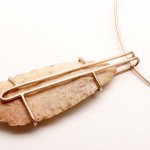
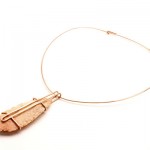
Nervous and excited are two words that describe how I felt when I get to work on commission with a beautiful, precious and very rare artefact. This old stone tool was given to my client’s mum as a present. She has been treasuring it for years and now it made its way onto my bench! Her beautiful daughter Giulia commissioned me to design and make a piece of jewellery featuring this beautiful artefact to give her as a Christmas present.
I have chosen to work with rose gold in this case as its tones work well with red tones found in the stone. Also, the brushed rose gold look has a feel of warm and age.
I didn’t want to set the stone in a traditional way as I was concerned that it would take away from its beauty and could make it look too heavy. Instead, I have decided to form a “cage” containing the stone exposing it’s both sides. I like to design jewellery to be versatile whenever possible and remove the concept of front or back. I left it simply up to wearer if she chooses to display one side or the other side.
I have enjoyed working on this commission from the beginning until the end!
How did I go about it? Here is step by step documentation.
– Design. As the design was mostly focused on the stone. I needed to make sure that largest possible part of it would be exposed (from all sides). I wanted to make sure that pendant is reversible.
– Examine the artefact and analyse possible points for positioning of the cage
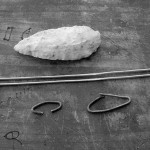
– form individual components. There are three major components to begin with.
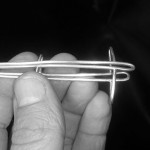
– bend the long double bar in half and form it to copy surface of the stone. Then solder bottom and tom “ring” in position.
– open up the “cage” just enough to slide the stone inside.
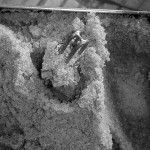
– close the “cage” and solder small space bar at the top of the pendant (in the area where it is going to be suspended from the neck wire). This space bar is important element stopping the cage from opening (by accident) and dropping the stone. Soldering of this bar in to the position was the scariest moment during the construction of this project! As the stone needed to be in position before this last solder job. I wasn’t sure how much heat can this stone take, how many cracks it already had and fragile it actually is. Better be safe than sorry! I have buried the stone into the wet sand to keep it nice and cool while soldering.
I worked well!
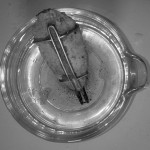
– removing borax and oxide. Usually I would use safety pickle compound (sulphuric acid crystals mixed with water), but yet again, I didn’t want to submerge the stone into any chemicals so I used white vinegar instead (correctly disposed after use of course)!
– the neck wire was formed to sit comfortably on a chest of a wearer. For the closing, I have decided to form the whole section that could come out so the necklace could be slipped onto the neck without a need of opening it too much.
{ 2 comments }

