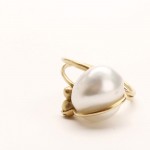
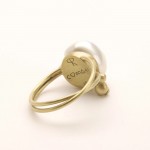
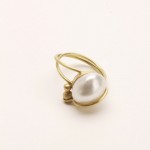
Another fun commission! The requirement for this engagement ring was to design a unique ring made of 18ct yellow gold, fine wire to be used for the ring and featuring pearl that comes from Australia. My client, her partner and I went for pearl shopping and she has chosen this beautiful Keshi pearl from Western Australia!
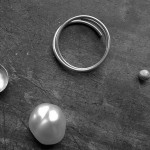
Once I had the pearl I got onto designing. Two wires forming a ring represent two lives forming one and two granules together with one precious pearl represent a family of three. As the beauty of the pearl is so striking, my client asked me to leave it exposed as much as possible. For the security, I have expended an “arm” over the pearl and riveted it to one of the granules. This way if in the future any repairs are required, pearl can be relatively easily removed and set back in position again.
This is how it went….
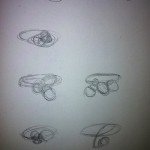
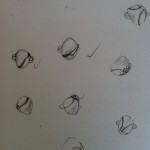
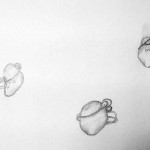
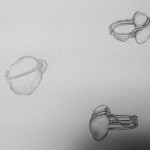
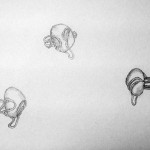
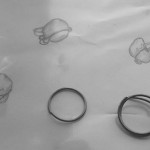
Initial design sketches don’t look always amazing and the client doesn’t get to see them at this stage. These are for me. Quick sketch helps me to realise an idea and its form quickly. Often I also make quick paper mock up to see the form (but not in this case).
Three ideas that I think work the best are sketched in bit more detail and presented to the client. The client then chooses one, sometimes there may be some alteration, but in this case, we went straight ahead with one of the designs.
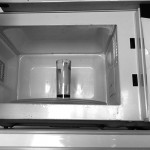
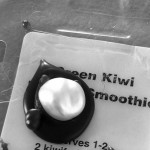
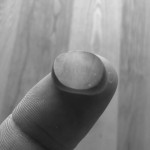
I started with the setting for the pearl. As the pearl has got a very irregular shape I decided that the best would be to make it first in wax and have it cast. Instead of carving the wax model I have melted the wax in microwave, poured it onto piece of plastic, waited for the wax to cool down a bit not to damage the pearl and then let the pearl drop into it and imprint its shape (now, this sounds really simple, but it took about ten goes till the pearl sank into right depth and on the right angle).
Once I had the shape right I have carved out the excess wax. When I was happy with the shape I had it cast in 18ct yellow gold.
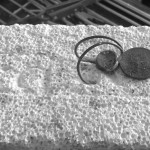
While I was waiting for the setting to come back from the casting company, I have made the ring and an “arm” for the setting.
When the setting return from the casting company I had it hand engraved by Russel Dough and just after that I have soldered it to the shank.
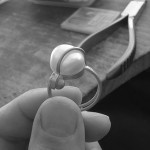
Once everything was in place I have drilled into the setting and into the pearl (very, very scary part!). Then I soldered the pearl post into the setting.
After I checked the fitting I have also soldered the “arm” into the position.
When all the parts got soldered I have once more checked the fitting and then have flattened the end of the “arm” for the rivet
The final finish was to 600-grade emery (brushed finish) as requested by the client.
{ 2 comments }

