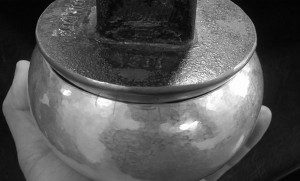
My recent return to teaching at Design Centre Enmore has inspired me to create something rather larger and different than jewellery, I am making a teapot. To be honest, I have been really missing silversmithing. Simply, there is enormous reward and satisfaction in creating something large, functional and precious. I have chosen to make teapot as its fabrication usually promise a challenge and that is what I want. The material to be used is going to be spinning silver (950) and copper. Conceptually, this work is about that not everything is always as it seems. This idea and inspiration came from a book by Terry Prathcett that I red while road tripping across Sumbawa. This fun fantasy book “Mort” makes you look at time, world and death in very interesting way.
What is silversmithing?
Silversmithing is an art of creating hollowware (teapots, dishes, bowls, cups, vessels, etc), flatware and other objects from sheet metal using heat, selection of hammers and stakes.
For those, who are interested, here is a “step by step” process described. I will contribute to this post regularly as the work on my teapot progresses.
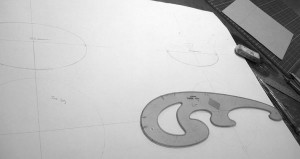
Step 1 – inspiration and concept
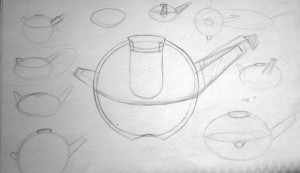
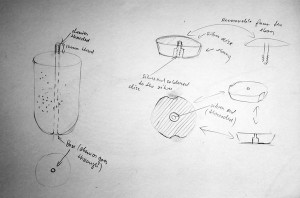
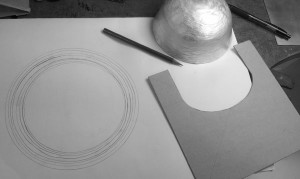
Step 2 – design
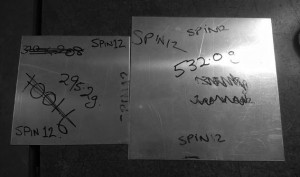
Step 3 – preparation of the metal
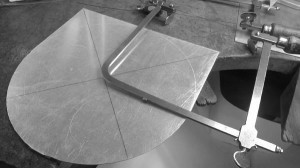
Silver is cut into disc. Edges of the disc are filed smooth. Metal is annealed.
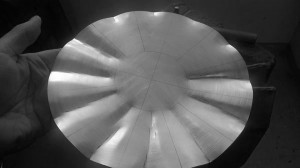
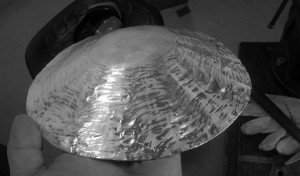
Step 4 – disc is crimped
Crimping is a technique when metal is being compressed by using crimping hammer. It looks like I am making ‘waves’ in the disc. This gives the metal new form.
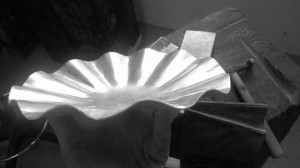
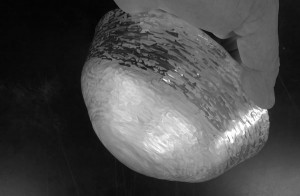
Step 5 – raising
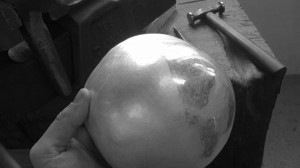
After crimping and annealing, disc is being raised. The first two raises after crimping are really physically difficult. Following raises are easy. I actually enjoy this part of the process as the movement of the metal is instant. I also find it relaxing. Raising and annealing alternate until I am happy with the form.
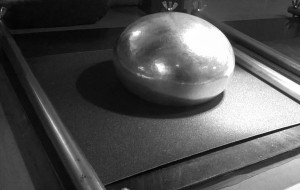
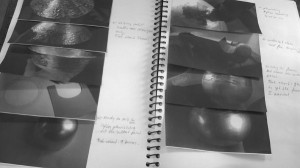
Documentation is taking place after each raise.
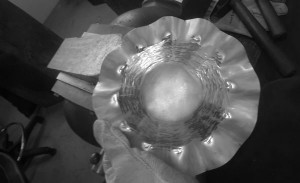
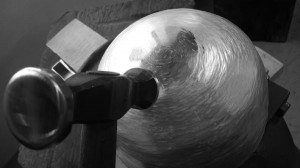
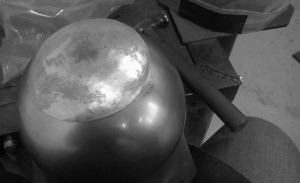
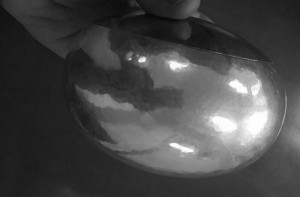
Step 6 – planising in this case is done in two stages. Stage one – when the base of the vessel is formed and before I start raising in. Stage two is when the whole form of the vessel is raised. Then I am plenishing top part of the vessel. The reason why I am planishing it in two stages instead of doing it all at once at the end is that it would be difficult fit appropriate stake inside of the vessel at the end.
Step 7 – when all the plenishing is done and I am happy with it I can move on to making base. Base is going to be made of copper. Completely new disc needs to be cut for that. This time I am not going to crimp it and raise it to get the form but instead I will sink it. Sinking is a silversmithing technique when metal is place over cavity in wooden stump and hammered with doming hammer in. This process doesn’t compress the metal, but it stretch is it. One needs to be mindful of this fact.
Step 8 – when the copper base is sunk into the form I like I move on to the plenishing again.
Step 9 – fitting and preparation for soldering
When both parts to be soldered are well planished and have matching curves then I have fitted them together by filing then to right size.
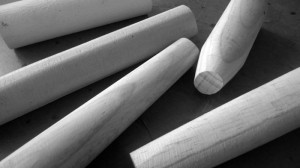
Step 10 – spout and handle mock ups are produced out of timber. These mock ups are made so proportions can be checked against 3D object. Thorough documentation through the process is really good habit to have as any notes on discoveries, experiences and etc may come handy later on.
Step 11 – to be continued when I get to it. Please stay tuned for an update.

